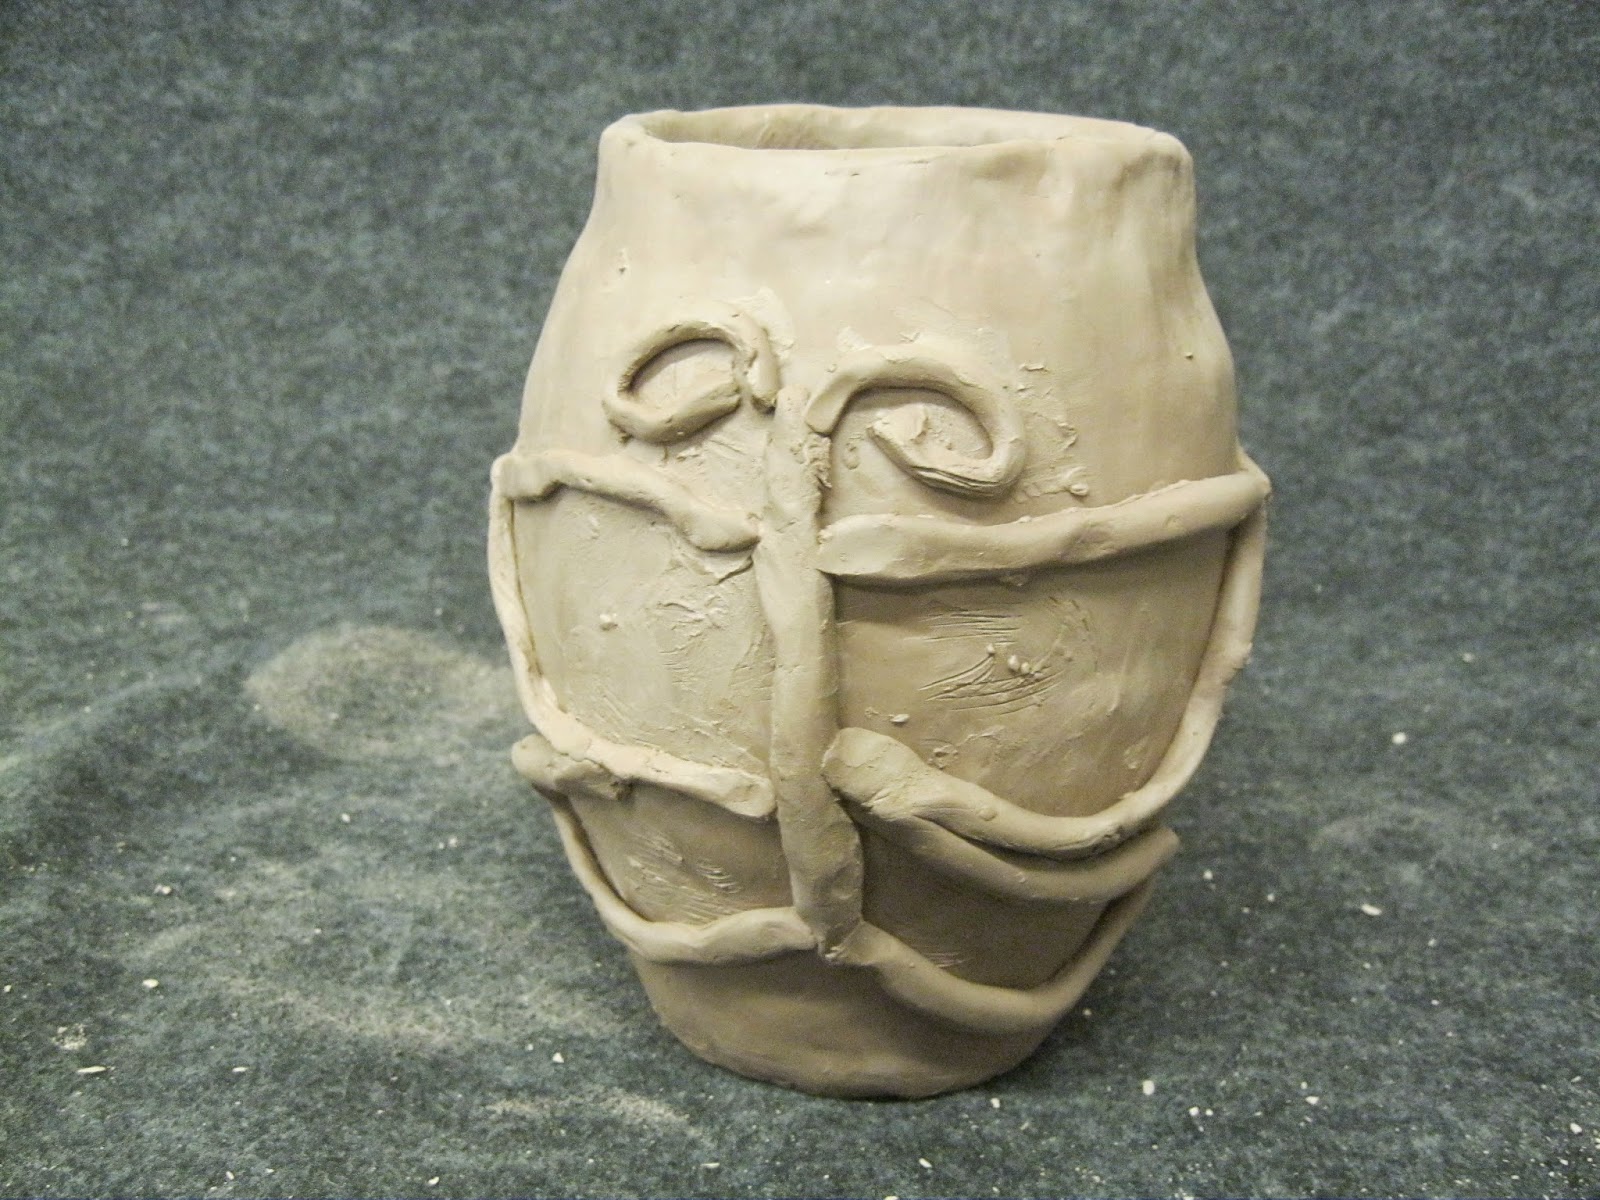
We wedge the clay and making it in to a ball and we take it to the sink and we start to pull down the clay to make the handle. It was hard to pull it down make the handle and it kept falling off.
We could make a thicker handle, because it mint to thin to hold the cup and fall off the cup.
Thursday, March 19, 2015
Wednesday, February 11, 2015
hand building lanter
Label your Blog post: Lantern
POST 3-4 pictures of your project in progress and a picture of your
finished piece.
ANSWER the questions below.
1. What hand building method did we use to construct this piece.
2. What did you do to connect two pieces together?
3. Why did you choose your design? What do you like most about it? What do
you like least about it?
4. What would you do differently if you did this project over again?
I can't wait to see your piece glazed.
We used the slab method and wedge the clay and then we went to the slab machine flatten the clay out and then we cut out squares and then we copied out the design out of a book and then we trace it on the clay and then we made the sides fettling knife on four sides to fit it to get there and we used slip and score the edges and i used a needle tool to cut out the design and we take a sponge to wipe it down and get the little pieces out to make sure pieces are out of there.
It was hard to work with hard clay and cutting out the arrows and squares and making shore the sides are same size and keeping it wet and making it cover well because it want dry out. This was not hard but I would do this a gin and It was hard to cut out the shapes and making shore its wet and it would work better for me and but i think it could made the lanter look better then what it looks like.Tuesday, January 6, 2015
pinch pot and cole pot andgl moled monste
Cranberry
We used prongs to dip the piece and we painted it on too.We dip more then once.and less then 30 seconds. We faced some challenges with the glaze.When we put the piece in the glaze with the prongs and the pot filled up with glaze. The glaze had air bubbled in it. When Ms. Blane tried to get the pot out of the glaze it bubbled up on her face.
I painted the under glaze color on before we put it in the kiln. I used a paint brush. After the under glaze we though the kiln we dipped the monster in the glaze with our hands.We dipped the monster in the glaze for less than thirty seconds. The glaze did not drip down the side. the glazing process went well.The glaze turned out very well. When the monster came out of the kiln it looked very shiny.As far as color vanations the green part looked a little lighter on the mohawk.On part of the side ofthe monsters face the pink color turned out a little bit lighter than I had expected.A so the color that I thought was a rich orange turned out to be more of a yellow color than I thought.
blue
I dipped the pot in the glaze with my hands. I dipped my pot for auproximately 10 second. Next I painted some pant with a paint brush. The brush I used had wax resist in it so it was sticky. The glaze went on well. After the pot came out of the kiln the glaze is very very shiny. The glaze was sucessful.
Friday, December 19, 2014
Hump Mold Monster Questions
Hump mold monster
The mouth is very big and has sharp teeth.
It has pointy hair and pointy ears and eyes are shaped like triangles. For texture there bumps on the head and scraches on the face. she is a girl.and The thing I like about her is the hair . Her name is mow hock.her color is pink orange green. I made the nose and eyes smalland the moth big.
.
Monday, November 24, 2014
CAL PROGET
Subscribe to:
Posts (Atom)